
Convert Adobe Illustrator Dielines into 3D Mockups
Adobe Illustrator is the industry standard for packaging design and print graphics, but it shows your artwork flat, not how it folds into a finished 3D box. PackCAD Mockup is an online tool that works with Adobe Illustrator to convert flat dielines into folded, interactive 3D packaging mockups. This guide shows you how to prepare your dieline and artwork in Adobe Illustrator, import it into PackCAD Mockup, and fold it into a 3D mockup in just a few clicks.
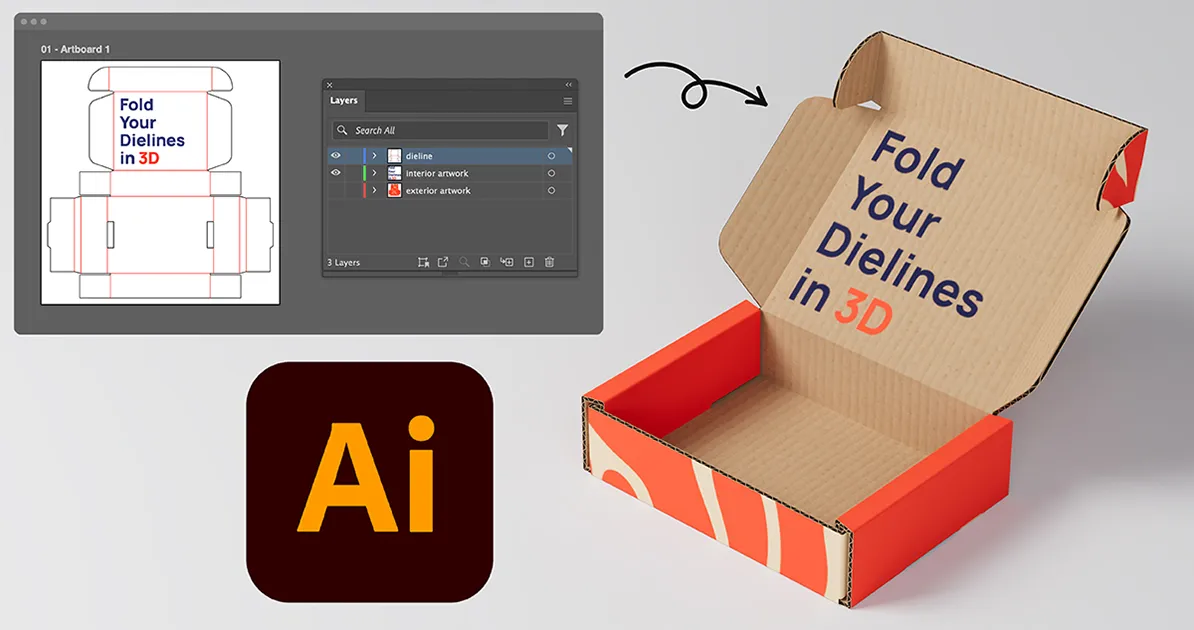
You can follow along with our example Illustrator file: MailerBox.ai
Illustrator Setup
Your packaging design is composed of two parts: the dieline (the cut and fold lines that define the shape of the box) and the printed graphics that go on the box. You may have generated the dieline from a template or a structural design tool, or drawn it by hand.
Layers and Artboards
It’s best practice to keep your dieline and your printed artwork on separate layers in Illustrator so that they can be easily isolated from each other during export. In our example file we have the dieline on its own layer, and the exterior and interior artwork on separate layers. Each layer will be exported as a separate file and brought in one by one into PackCAD Mockup. Keep all of your layers on the same artboard so they stay aligned.
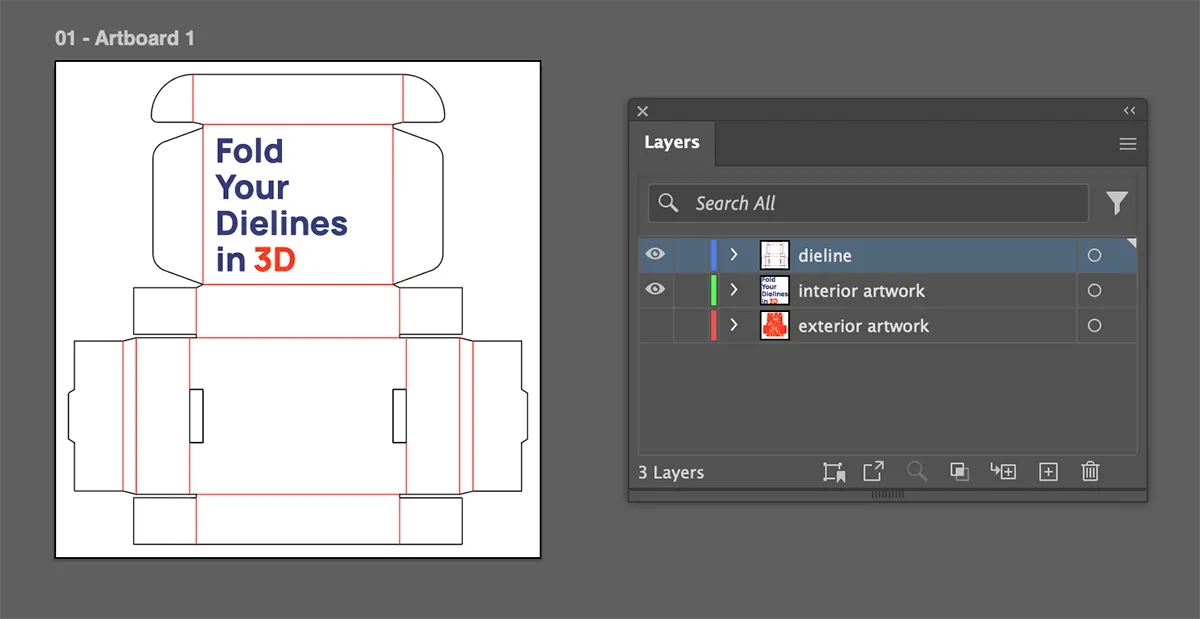
Dieline Stroke Colors
PackCAD Mockup uses the stroke color of each line in your dieline to tell cuts from creases; the colors should match the convention below:
- Cut lines should be black (#000000) .
- Fold lines should be red (#ff0000) , blue (#0000ff) , magenta (#ff00ff) , or yellow (#ffff00) .
These colors don’t need to be exact. PackCAD Mockup matches stroke colors with a generous tolerance, so any line that is close to one of the colors above will be detected. If you are working in CMYK Color Mode (File > Document Color Mode), set each line to the closest CMYK match of the colors above and they’ll still be recognized — no need to convert your document to RGB.
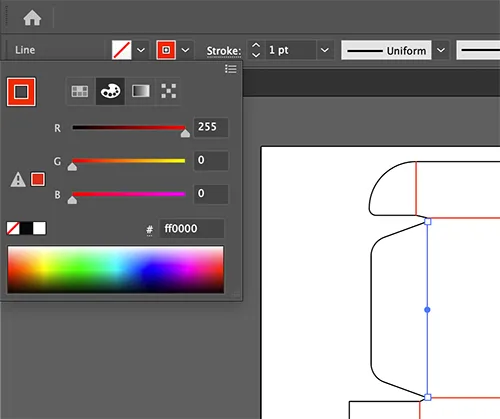
It’s fine to work in CMYK Color Mode. A CMYK red, blue, magenta, or yellow still registers as a fold line, since PackCAD Mockup matches stroke colors with some tolerance.
Exporting Files from Illustrator
Dieline (SVG)
Hide every layer except the dieline layer so that you can export the dieline by itself (without any artwork).
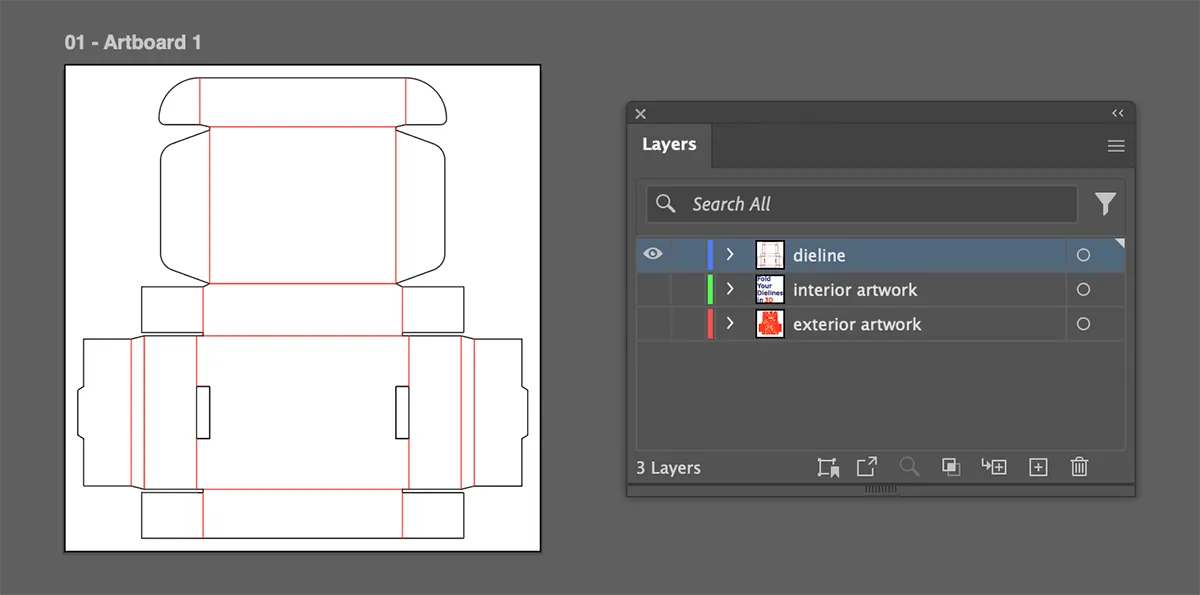
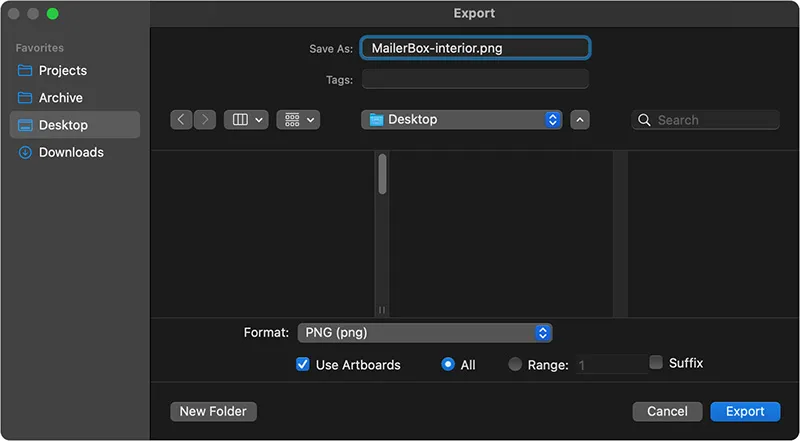
Then choose File > Export > Export As, select SVG, and be sure to select Use Artboards during export — this is what lets you align the dieline with your artwork in PackCAD Mockup.
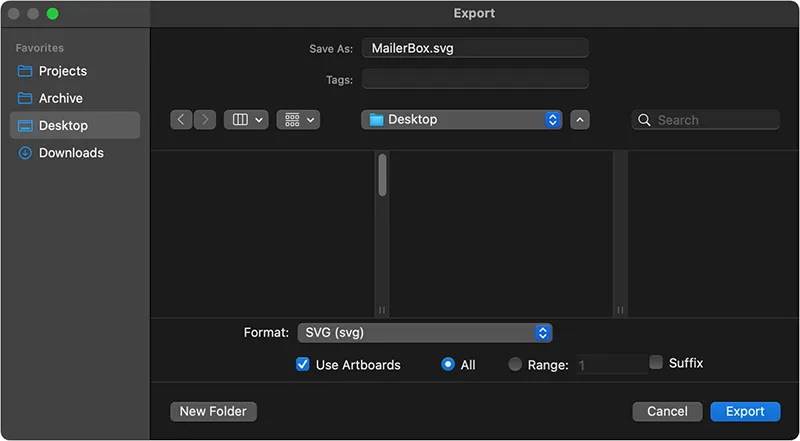
Most SVG export options work fine; the defaults shown below produced the sample file: MailerBox.svg

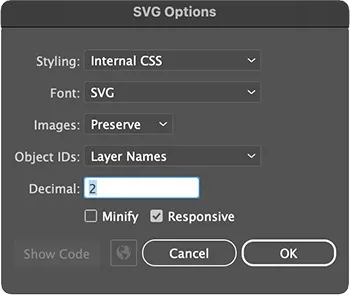
Always check Use Artboards when exporting from Illustrator. This keeps the dieline in the same reference frame as your artwork layers so they can be aligned in PackCAD Mockup.
Artwork (PNG/JPG)
Next, export each artwork layer as a separate image in PNG or JPG format. In our example file we have two artwork layers: exterior artwork (the outside surface) and interior artwork (the inside surface). Hide the dieline and the other artwork layers so only one side of your packaging shows at a time:
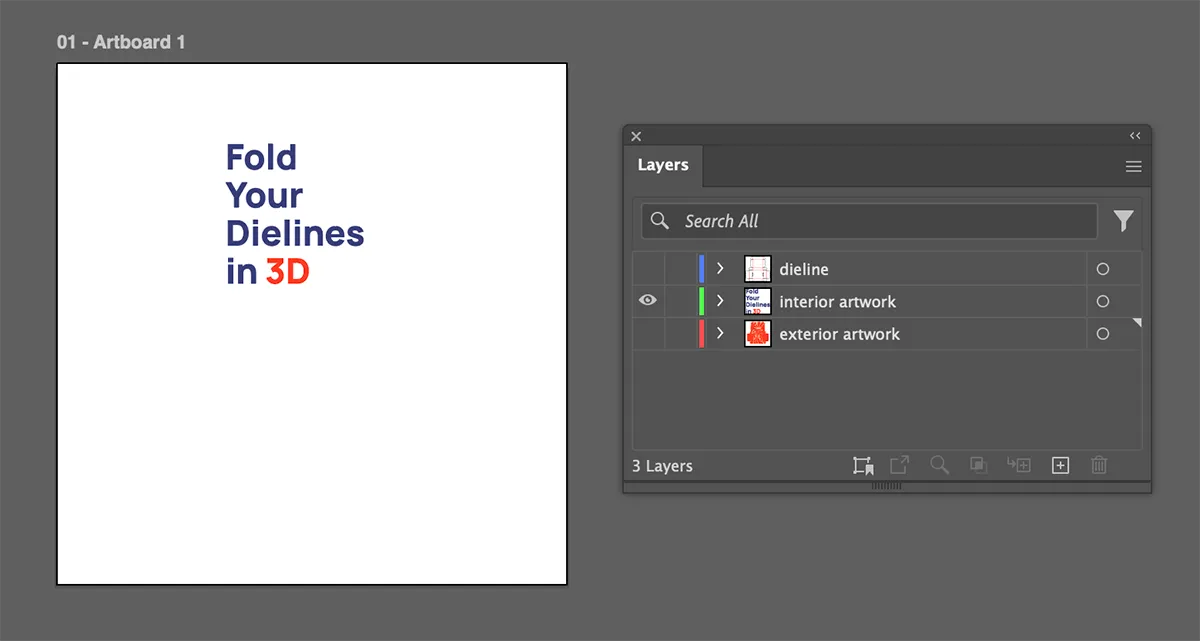 The interior artwork layer on its own, ready for export.
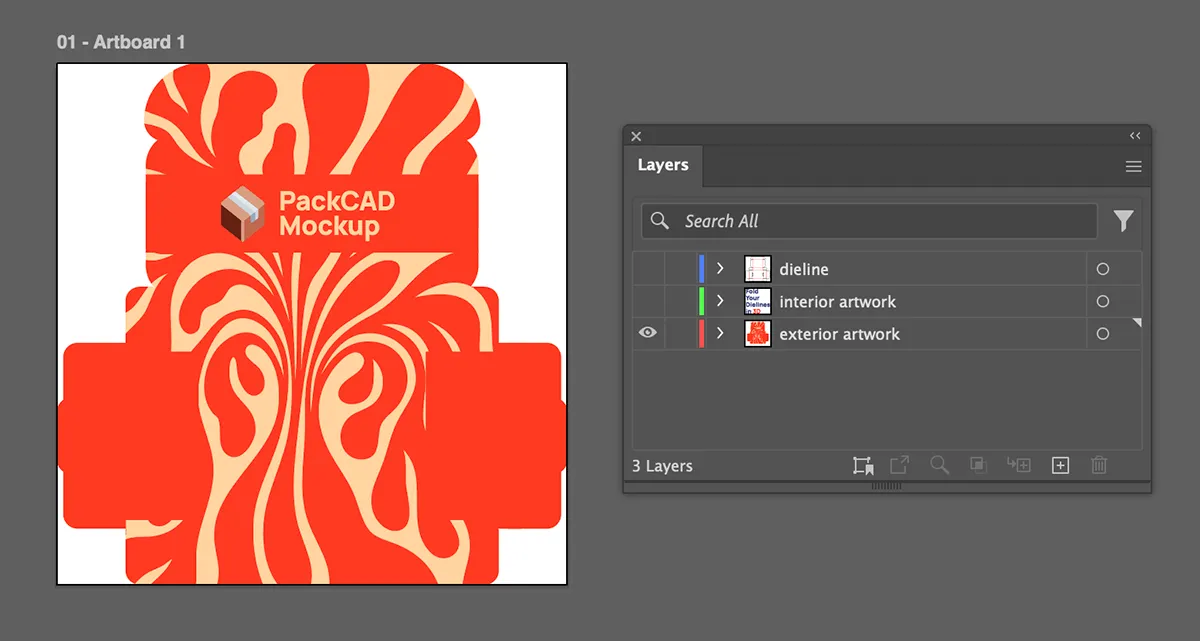 The exterior artwork layer on its own, ready for export.
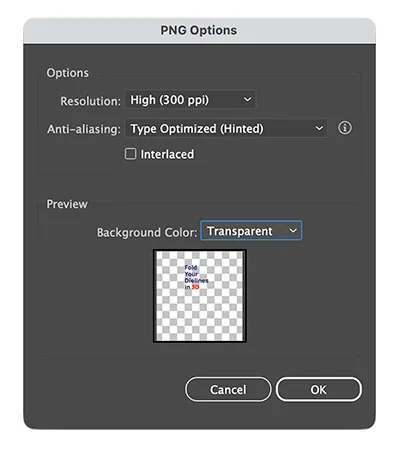
Then choose File > Export > Export As, select PNG or JPG, again with Use Artboards selected. Because the artwork and the dieline share the same artboard, the graphics land in the right place on the folded model. Export at a high resolution so the print stays crisp on the 3D mockup.
PackCAD Mockup supports PNGs with transparency. Transparent areas are composited over PackCAD Mockup’s built-in materials, so the base material of your packaging (e.g. cardboard, paperboard, or kraft paper) shows through.
Here are the two artwork files exported from our example: MailerBox-interior.png and MailerBox-exterior.png
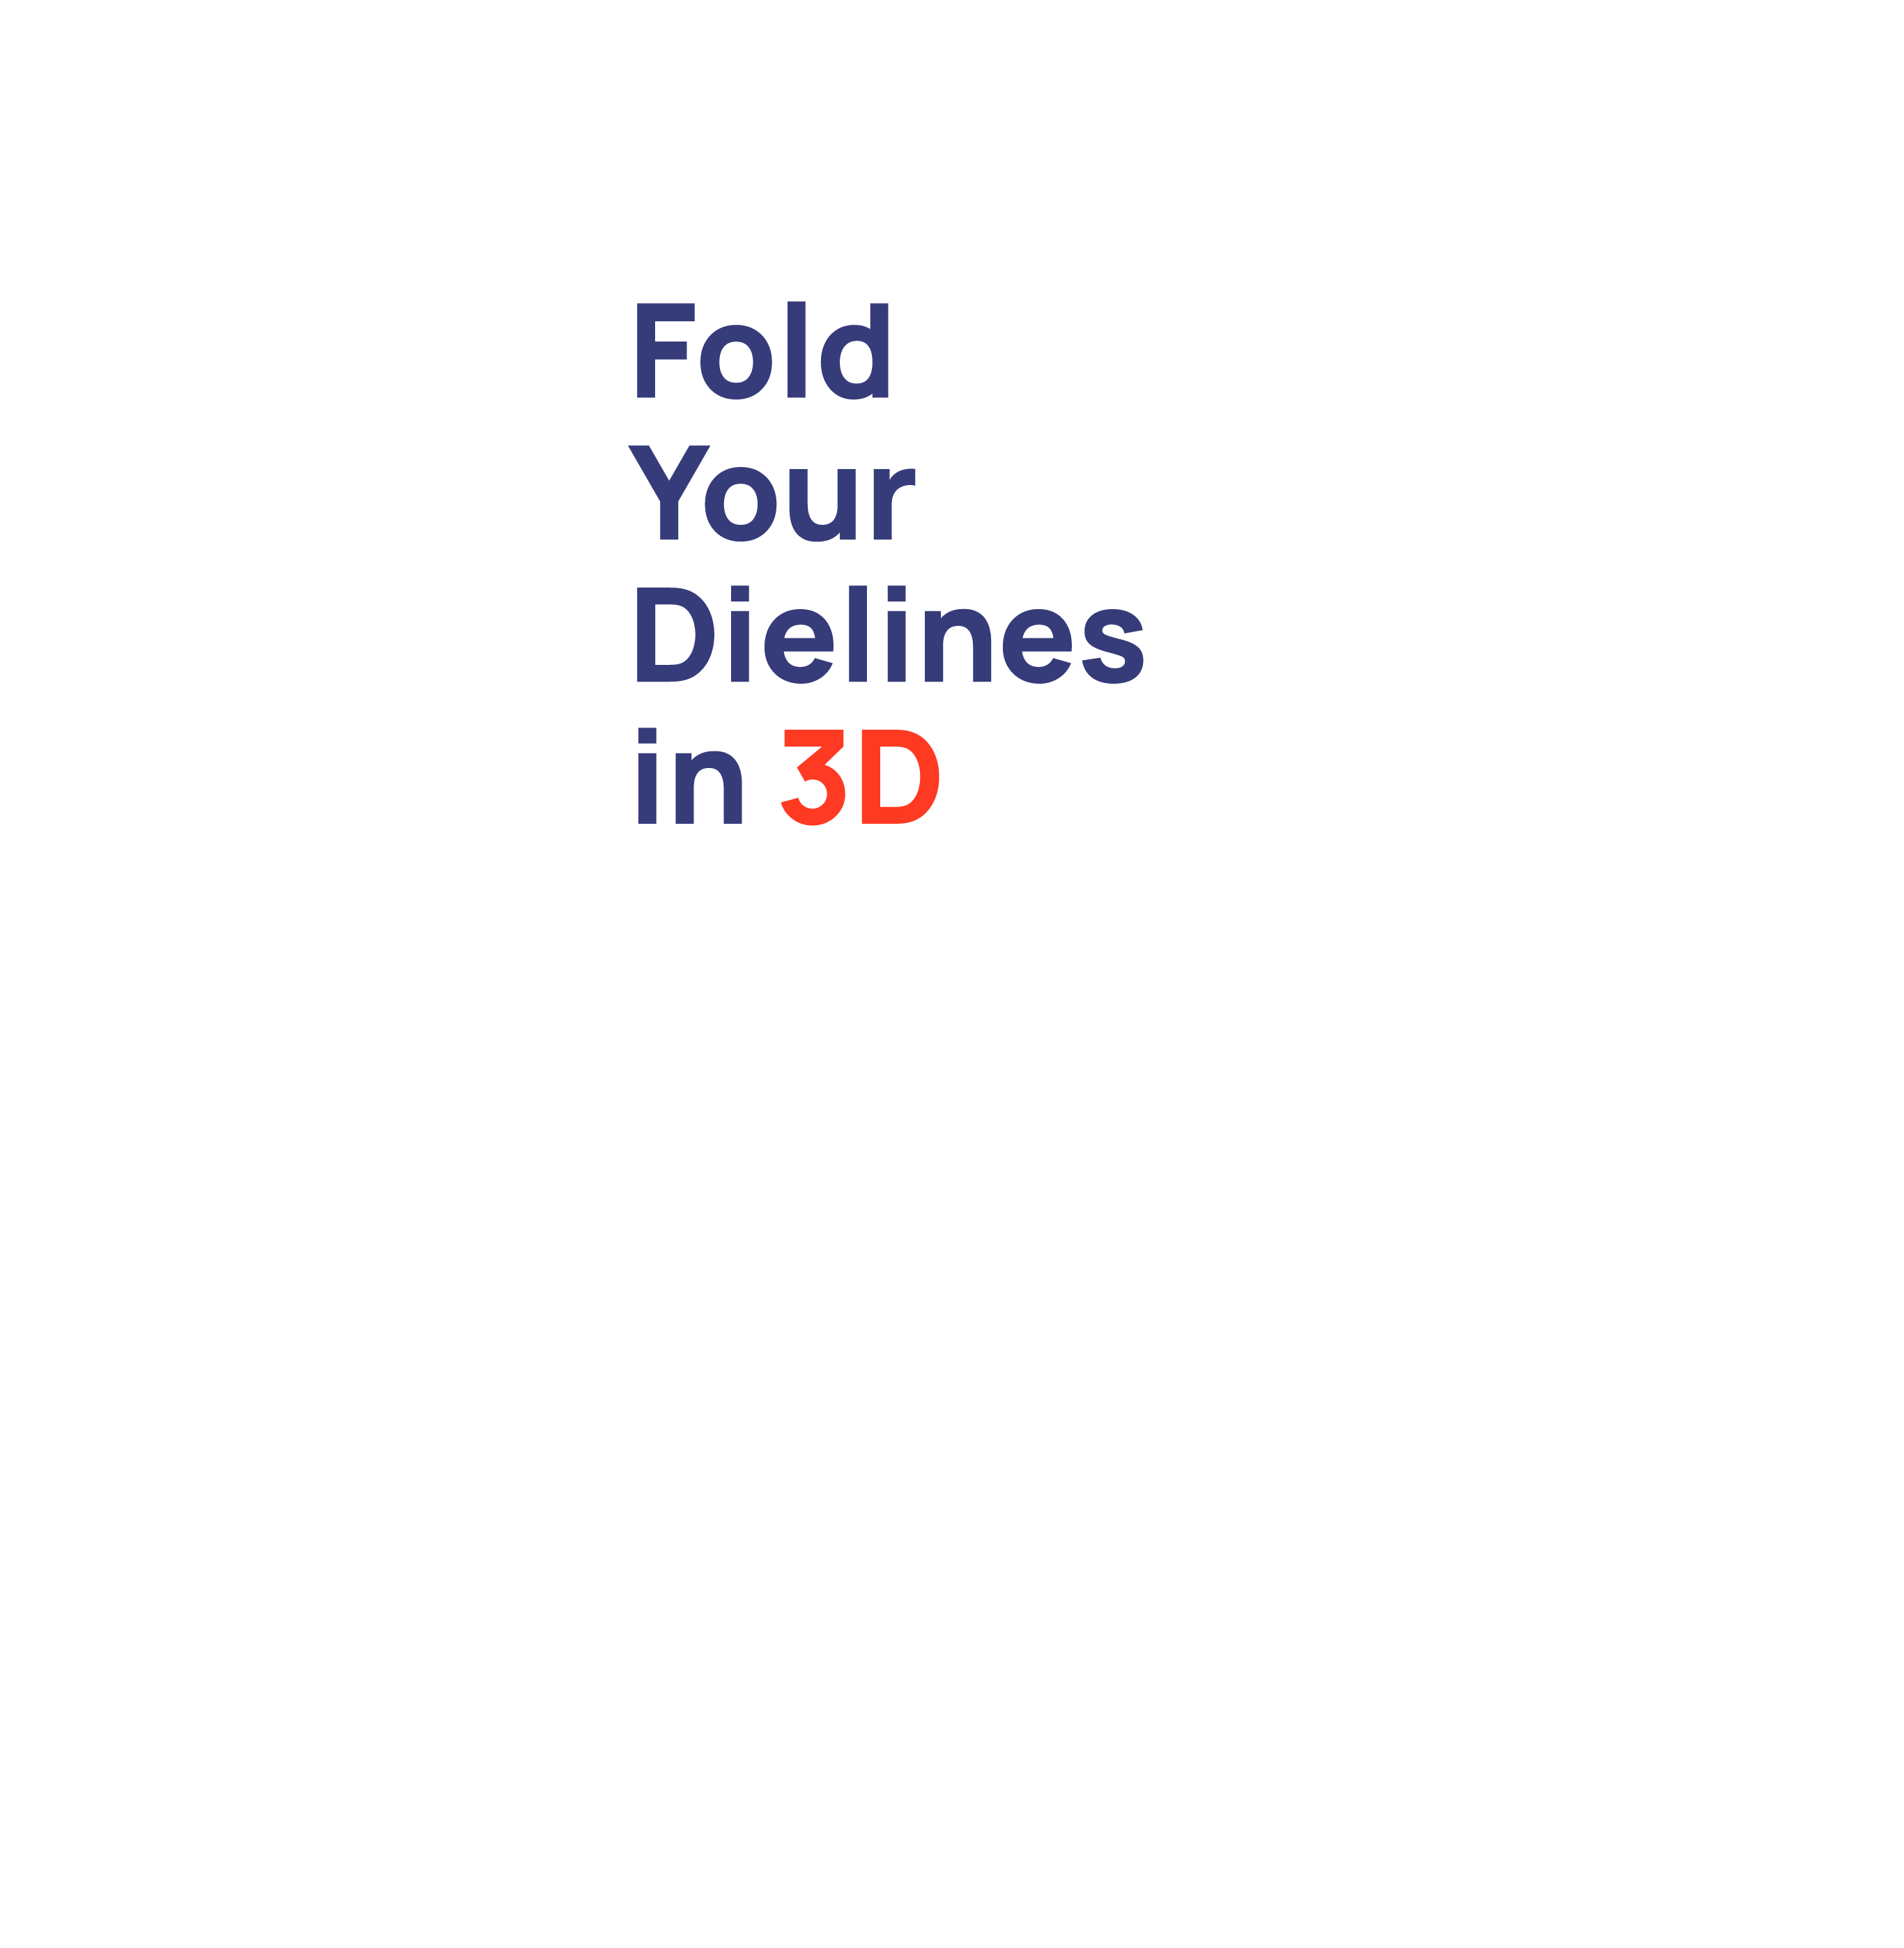
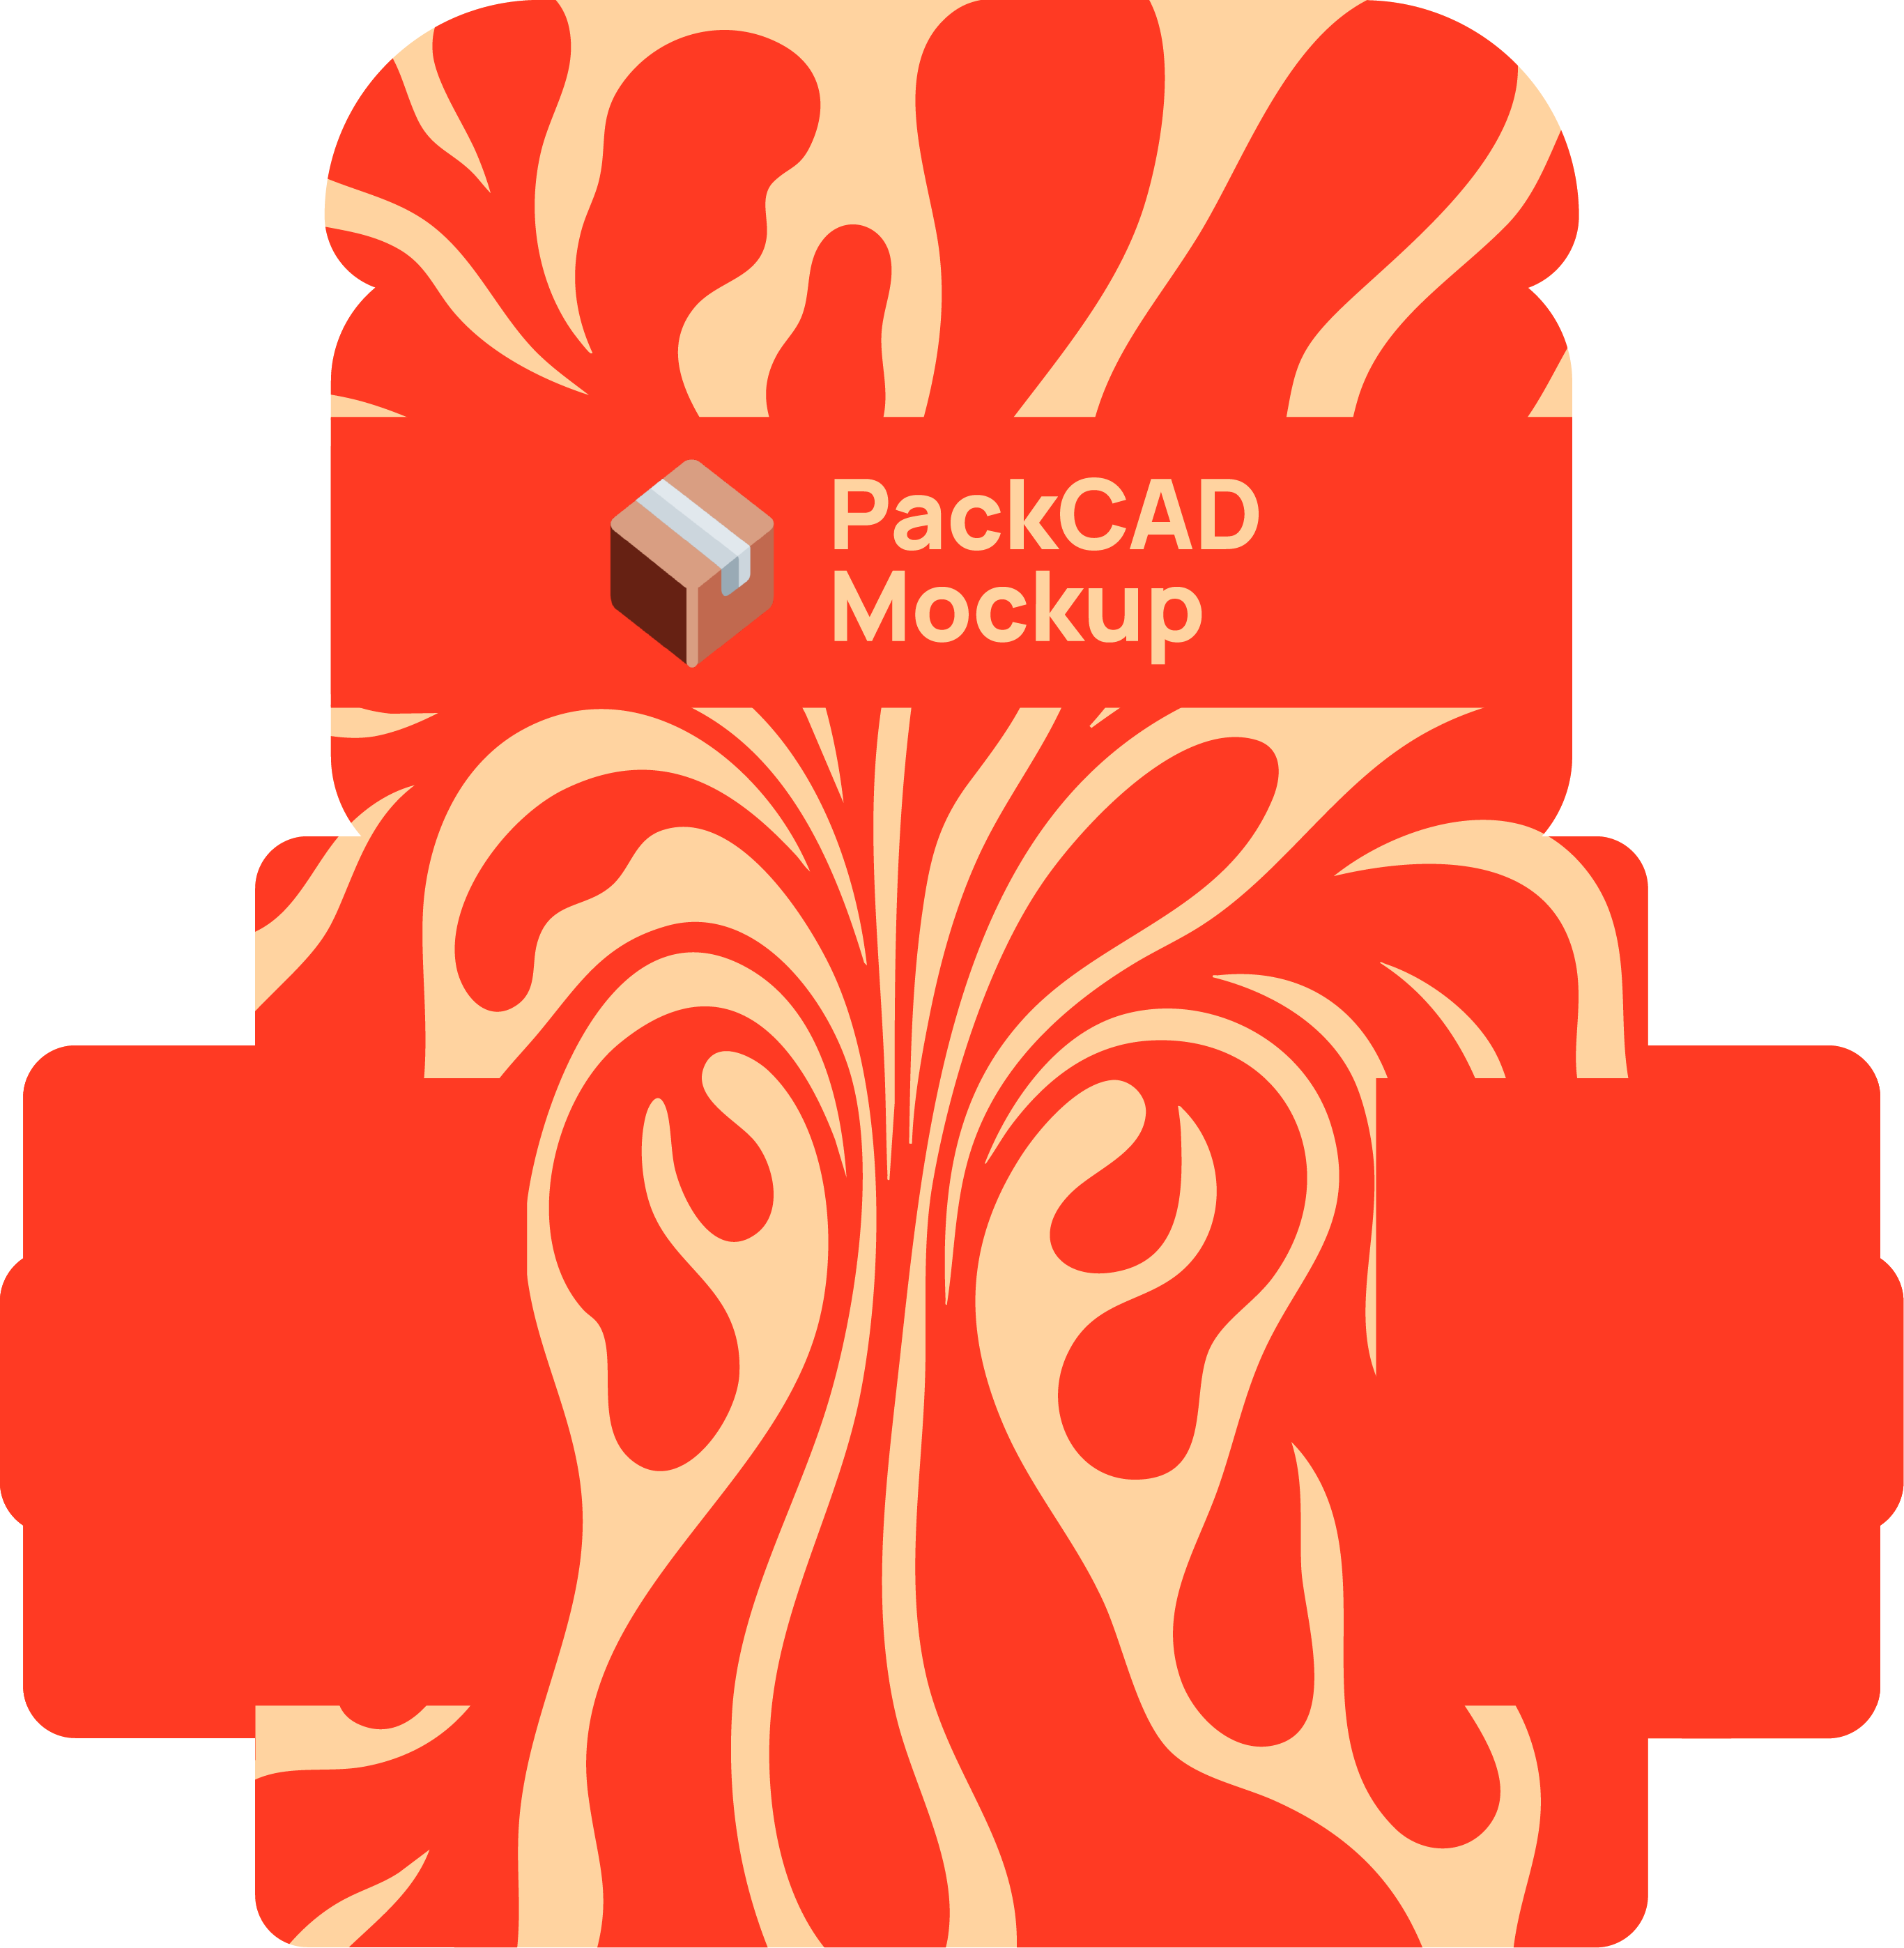
Interior artwork often needs to be mirrored once it is imported. There is an option to mirror artwork in PackCAD Mockup, so you don’t need to do it in Illustrator (see Getting Started for more info).
Common Pitfalls
A few common issues can keep a dieline from importing or folding cleanly in PackCAD Mockup:
- Wrong stroke colors - PackCAD Mockup expects cut lines in black and fold lines in red, blue, magenta, or yellow. Lines in any other color are skipped on import, so make sure your strokes match the expected colors.
- Dashed creases drawn as dashes - Draw each crease as one continuous line. For a dashed look, apply a dashed stroke style to a single unbroken line instead of drawing separate dash segments.
- Gaps at corners - Snap line endpoints together so cuts and creases meet where they are supposed to. Illustrator’s Smart Guides (
Ctrl/Command + U) help you snap precisely. - Artwork mixed into the dieline - Keep logos, text, and dimension labels out of the dieline file. Anything that is not a cut or fold line is skipped on import and may create issues if it is colored similarly to the cut and fold lines.
PackCAD Mockup’s Dieline Inspector flags these issues on import so you can fix them before you start folding. Read more about Troubleshooting Dieline Import.
Import into PackCAD Mockup
Your dieline and artwork are ready to come together in 3D. Head to Project Setup in our Getting Started guide to learn how to import your files and fold your design into a 3D mockup like the one below:
Create Photorealistic Rendering
Once your design is folded, PackCAD Mockup can render it as a photorealistic 4K image right in your browser, with studio lighting and materials built in. See our Photorealistic Rendering guide for the full walkthrough.